
After many years of borrowing a friend’s loom, I decided it was time to construct my own. Below the cut you can see the result!
Materials:
- 1 Oak Board (1″ x 6″ x 4′) – $16.78
- 4 Bolts (3/8″ x 2 1/2″ hex bolts) – $2.66
- 4 Washers (3/8″ x 7/8″) – $3.56 (per pack of 25)
- 4 Wing nuts (3/8″) – $6.16
- 10 Brads – $10.82 (per pack of 1,000)
- Total – $29.26 (I only included the cost of the brads I used as I already had them on hand)
Tools:
- Chop Saw (you could totally use hand tools for this project)
- Electric Sander Thingy (technical term)
- Hand tool for wood carving
- Dremel
- Brad gun
- Drill
- Drill bits (one small, one slightly larger than the bolts)
I got my inspiration for this project from a post on Weavolution by user sarahnopp. She spent slightly less on her project ($27), but I went with oak (because it seemed right).
Something to note going in, I AM NOT A WOOD WORKER. I’ve done a couple of small projects, but I’m not an expert by any means. On the other hand, this project doesn’t require a lot of wood-working expertise.
Step 1 – Measuring
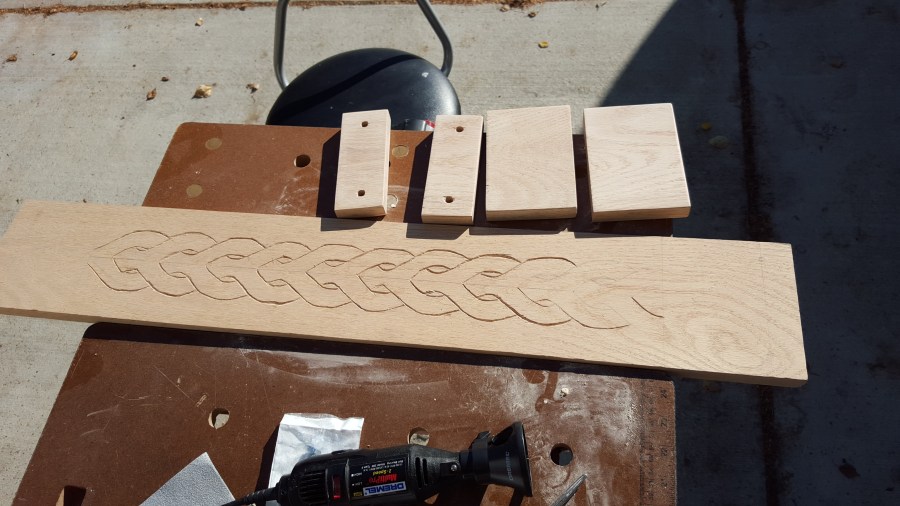
I took the 4′ board and measured out the following five pieces. Each piece used the whole 6″ width of the board.
- Two pieces 2″ long – for the tension bars.
- Two pieces 4″ long – for the risers.
- One piece 33″ long – for the bulk of the board.

This left a remainder (in grey above) that was used for practice pieces later.
Step 2 – Decorating
 I was sitting around at a friend’s house with my piece of wood (like you do) and doodled an ring-chain motif from an Iron Age ski found in Finland (see figure from Ancient Skis of Central Finland by Janne Vilkuna, Fennoscandia archaeologica I (1984), pg 36). After doing the doodle, I realized I hadn’t pre-sanded the piece, which precluded painting the motif on (my original plan). Having thwarted my own plan, I decided to carve the pattern into the wood. Because that seemed easy and straight forward.
Have you ever done done wood carving? Because I hadn’t. I headed up to Captaincy with my board and cheap tools (last used for soapstone carving) in hand and a grand plan to whiz right through the carving.
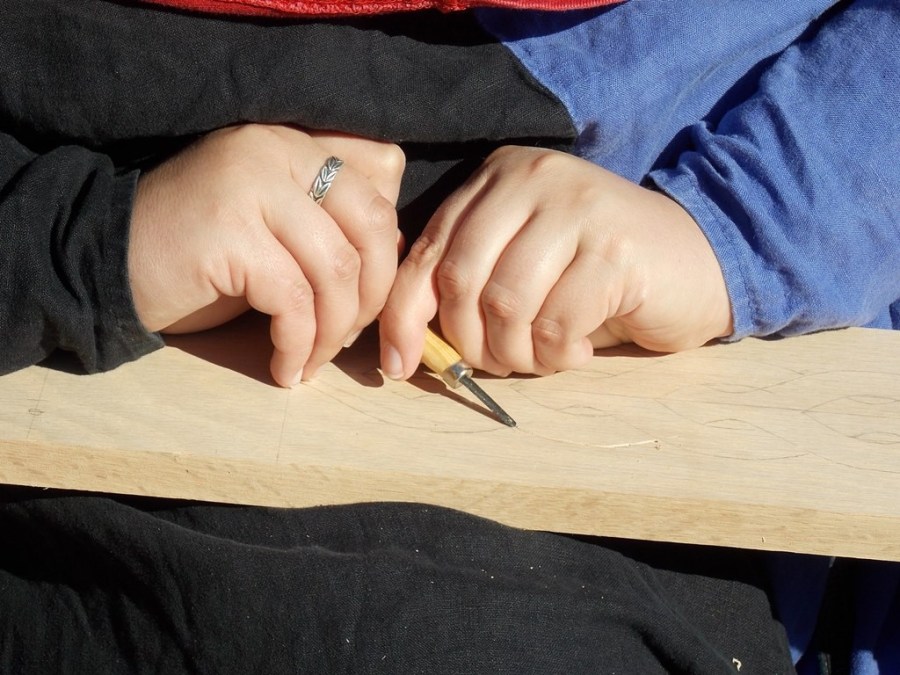
About 20 hours of carving later, I was about 80% done and ready to drive back south.
Step 3 – Cutting
Back in town, I headed over to the old pater familias’ garage to take advantage of his advanced wood-working tools (all hail the power tools).
I used the chop saw to cut the the board into six pieces (the main length, two risers, two tension bars, and a piece of waste). Using a small drill bit, I drilled starter holes for the bolts. Then I sized up the drill bits and drilled holes slightly larger that the actual diameter of the bolts. I sanded the risers and tension bars using a medium grit sand paper and then fine grit sand paper to make sure that there wouldn’t be an issue of splinters snagging on thread.
Using the dremel (for the first time), I cleaned up my hand carving and finished the rest of the motif. This did not go amazing.

Once I was content with my dremel work (read:sick of the dremel), I drilled a pair of holes on each end matching up to the holes I drilled in the tension bars. To do this, I lined the tensioning bar up with the end of the main lenght of the loom and marked the holes I had drilled previously. I then drilled a pilot hole and then a hole slightly larger than the diameter of my bolt. Holes drilled, I finished sanding the main piece. Last step was attaching the risers about 4 1/2″ from each end with wood glue and brads.
Let everything dry, and BAM! a loom!
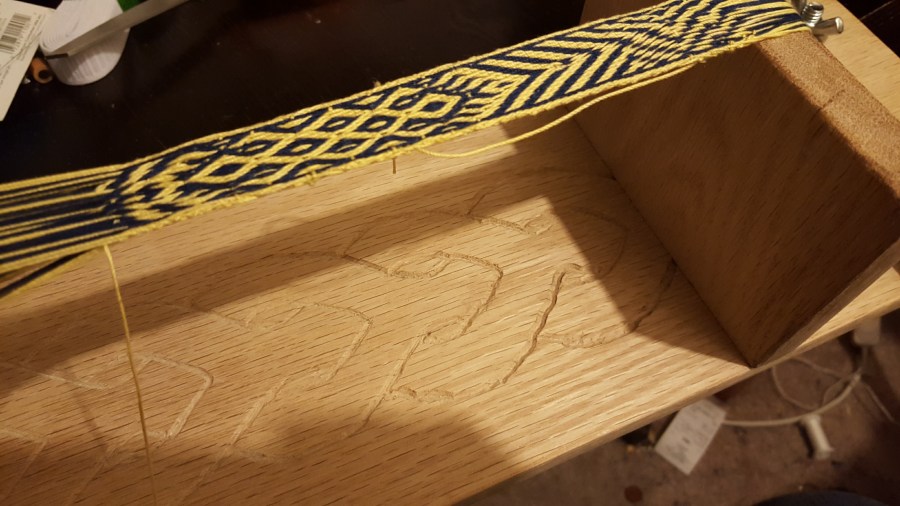
I’ve been using the loom about a week now, and I’m pretty pleased with the result!
 PLEASE NOTE: This loom does not match any of the medieval depictions of small band looms that I have seen. The majority of the depictions I have seen are two tall uprights with the weaving strung between them. There are also depictions of box looms in the later medieval and early modern (Renaissance) period.
Image of a band loom from a festal missial of Savoy, c. 1460 (The Hague, Koninklijke Bibliotheek, KB 128 D30)

You are always up to something. I love that about you.
LikeLike